



New & Now

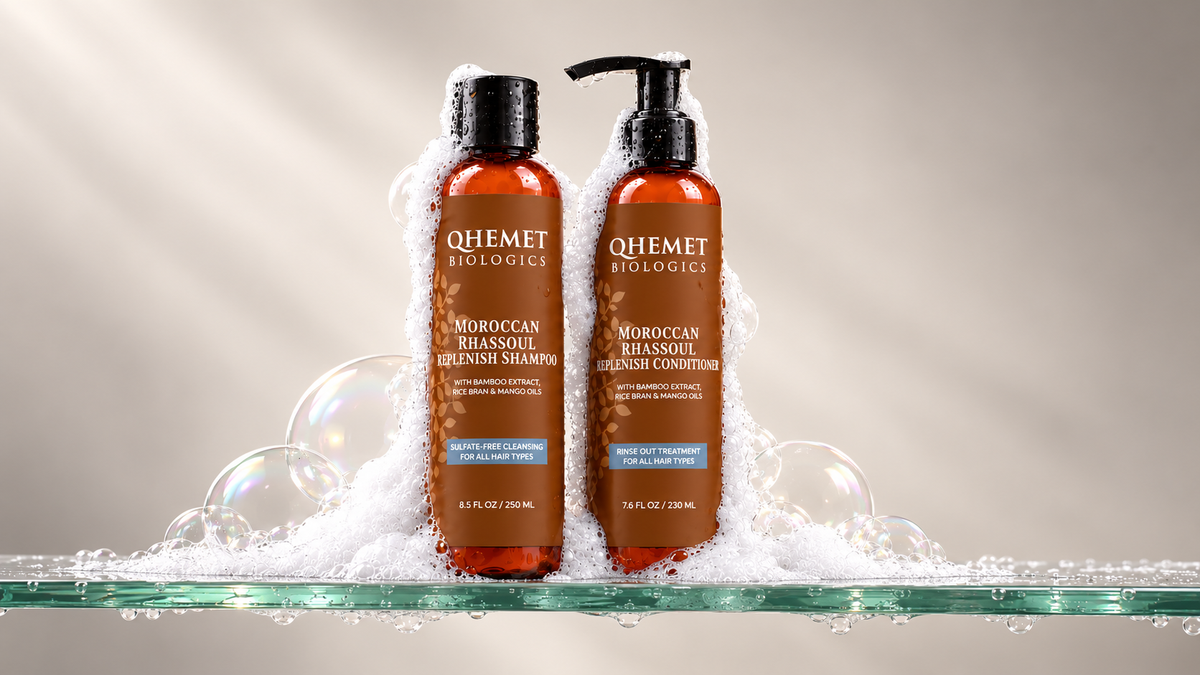
Moroccan Rhassoul Replenish Shampoo 250ml
Choose your option

Moroccan Rhassoul Replenish Conditioner 230ml
Choose your option

Qhemet Biologics Detangling Brush & Scalp Massager
Choose your option

Qhemet Biologics Wooden Detangling Comb
Choose your option

Choose your option

Medicube Rosemary PDRN Damage Care Hair Mask 200ml
Choose your option

Weleda Booster Serum Drops Boost & Glow Gift Set
Choose your option

Weleda Fragrance Body & Hair Mist Trio Set
Choose your option

Weleda Fragrance Body & Hair Mist 95ml
Choose your option

Weleda Skin Food Body Lotion 200ml
Choose your option

Choose your option

Kérastase Hydration & Shine Essentials - Nourishing Duo Spring Set
Choose your option

Kérastase Hair Gloss Absolu Discovery Set
Choose your option

Innersense Replenish & Restore Ceremony - 2pc
Choose your option

Choose your option

The Grinch x Kitsch Cindy-Lou Hair Perfume Duo - 2pc Set
Choose your option

Choose your option

Innersense Shape & Shine Ceremony Set - 3pc
Choose your option

Choose your option

Choose your option

Bask & Lather Aloequench Flaxseed Coiling Jelly 8oz
Choose your option

Bask & Lather Aloe & Honey Deep Conditioner 236ml
Choose your option

Bask & Lather Moisture N Slip Curling Cream 8oz
Choose your option

Bask & Lather Strong Hold Edge Control 150ml
Choose your option

Choose your option
Choose your option

Choose your option

R+Co Bleu Rebounce Natural Texture & Curl Defining Cream 148ml
Choose your option

R+Co Bleu Soft Bounce Natural Texture & Curl Conditioner 201ml
Choose your option

R+Co Bleu Soft Bounce Natural Texture & Curl Shampoo 251ml
Choose your option
Featured Brands


Trending This Week
Spotted on your feed. Added to everyone's basket. Discover what's worth the hype before it's gone.

The Doux BLOCK PARTY Anti-Humidity Defining Gel 16oz
Choose your option

Uncle Funky's Daughter Curly Magic Curl Stimulator
Choose your option
Choose your option

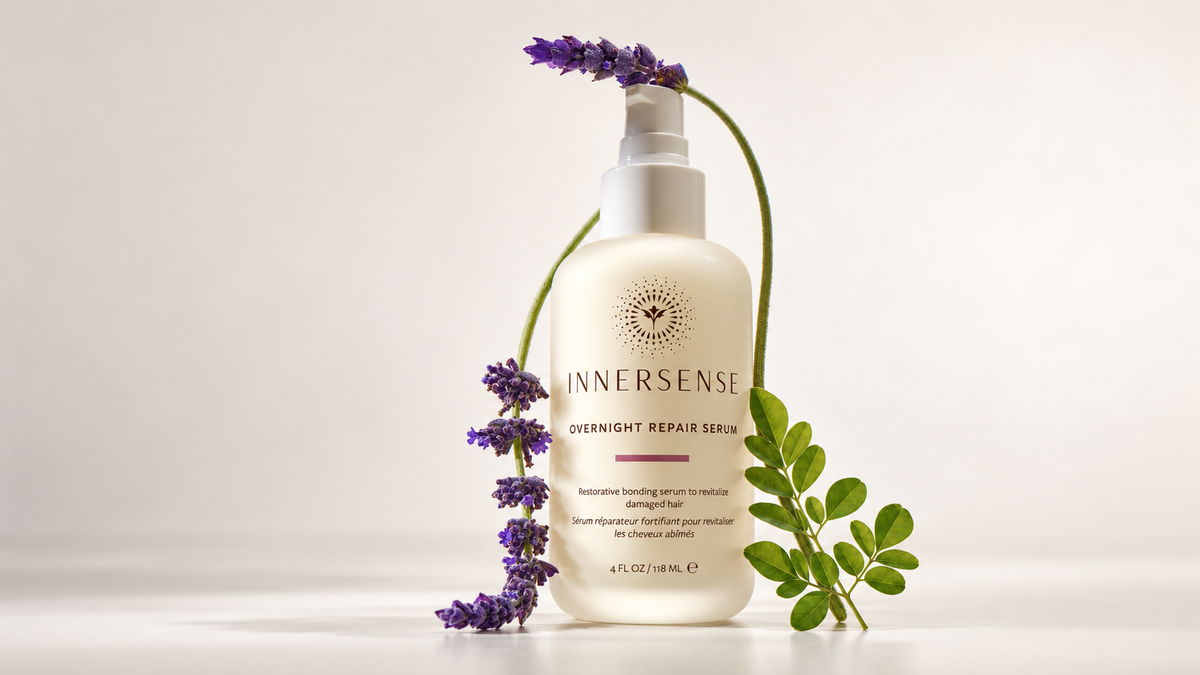
Innersense Overnight Repair Serum 118ml
Choose your option

African Pride Moisture Miracle Aloe & Coconut Water Pre-Shampoo 12oz
Choose your option

Choose your option

K18 Future IQ Biomimetic Hair Longevity Serum 90ml
Choose your option

Miche Beauty Set Gel-To-Foam Styling Mousse 7.5oz
Choose your option

Choose your option

Camille Rose Mint Condition Nourishing Braiding Gel Extreme Hold 12oz
Choose your option

Choose your option

Design Essentials Classic Honey Creme Moisture Retention Shampoo
Choose your option
Centre Stage
Worth your attention. Ready for their close-up. Meet the products worth knowing about.

Innersense
Consider this your heat-free era. Effortlessly defined hair, two full-size essentials and over 30% savings.

Kitsch
Whoville smells delicious this year. Cherry pie meets freshly baked cookies in this limited-edition hair perfume duo.

K18
Playing the long game never looked so good. Meet the lightweight serum putting the future of your lengths first.

Laka
Ultra-glossy, glass-smooth shine and show-stopping colour designed to steal the stage for every big event.


Celimax Pore & Dark Spot Brightening Cream 35ml
Choose your option

Choose your option

Choose your option

Torriden Cellmazing Firming Cream 60ml
Choose your option

Choose your option

Choose your option

Choose your option

Beauty of Joseon Relief Sun Rice + Probiotics SPF50+ 50ml
Choose your option


COSRX 5 PDRN Hyaluronic Acid Vital Hydrating Hydrogel Mask - 3 sheets
Choose your option

COSRX 5 PDRN B5 Vital Soothing Toner 280ml
Choose your option

COSRX 5 PDRN Collagen Intense Vitalizing Serum 100ml
Choose your option

Choose your option

Choose your option
Medicube Rosemary PDRN Damage Care Hair Mask 200ml
Choose your option

Medicube AGE-R Glutathione Glow Capsule Cream 50ml
Choose your option

Medicube PDRN Pink Caffeine Night Wrapping Mask 75ml
Choose your option


Choose your option

Celimax Pore & Dark Spot Brightening Kit
Choose your option

Choose your option

Aromatica Rosemary Scalp Scaling Trial Kit (With Mini Wooden Hair Brush)
Choose your option

Choose your option

Arencia Fresh Cleanser Discovery Kit 15g - 6pc
Choose your option

Choose your option

Choose your option
You're in the right place.
Beauty is personal. Every routine tells a different story, and every discovery shapes the next. For over 20 years, we've helped customers explore, experiment and find products that become part of their everyday. Wherever your journey takes you, we're glad you're here.
Join the Beauty-Obsessed
Kiyo Journal

Protein vs Moisture: What Does Your Curly Hair Actually Need?
If your curls suddenly feel dry, limp, brittle or just not quite right, the internet will usually give you two answers: you need moisture or you need protein. It sounds simple enough. Dry hair needs moisture. Weak hair needs protein. Stretch a strand, work out which side you're on and restore the “balance”. Except curly hair rarely behaves that neatly. Protein and moisture aren't opposing sides of a haircare equation, and one bad wash day isn't enough to tell you what your hair needs. A better place to start is understanding what each does, looking at what your hair has been through and paying attention to patterns rather than individual symptoms. Here's how to make sense of it. Protein and Moisture Aren't Opposites Let's clear up the biggest misconception first. Moisture-focused haircare is primarily about conditioning. It helps hair feel softer, more flexible, easier to detangle and more manageable. Conditioners, deep conditioners and leave-ins can all play a part. Protein and strengthening treatments have a different purpose. Hair is largely made from a protein called keratin, and protein-containing treatments can temporarily reinforce the hair fibre. They can be particularly useful when hair has been weakened by bleaching, colouring, chemical processing or repeated heat styling. The important thing is that your hair can benefit from both. Using a protein treatment doesn't mean you should stop conditioning your hair, and using a deep conditioner doesn't mean your hair must be “protein deficient”. Think of them as different tools rather than treatments competing for the same job. The Bigger Picture The difficult part is that hair doesn't come with a warning light telling you exactly what it needs. Dry, rough or difficult-to-detangle curls are a good reason to look at the conditioning side of your routine. That doesn't automatically mean reaching for the richest mask available. Your shampoo may be leaving your hair feeling stripped, your conditioner may not provide enough slip, or your routine may simply need more consistent conditioning. Weakness and breakage can make a strengthening or protein-containing treatment worth considering, particularly when the hair has been bleached, coloured, chemically processed or frequently exposed to heat. But breakage alone isn't proof that your hair needs protein. Limp, heavy or coated curls are particularly easy to misread. Hair that has gradually accumulated layers of deep conditioner, leave-in, curl cream, butter, oil and styling products can lose some of its usual movement and definition. Adding another treatment may only add to the problem. Sometimes the most useful thing you can do is simply cleanse properly and simplify. And remember: one disappointing wash day isn't enough evidence to rebuild your entire routine. Your Hair History Before choosing between protein and moisture, start with what your hair has been through. If your hair is bleached, coloured, relaxed or frequently heat-styled: Start by considering strengthening care. A protein or bond-focused treatment can be useful when processed hair feels weaker or is breaking more than usual. Keep regular conditioner in the routine too. Strengthening doesn't replace conditioning. If your hair feels dry, rough or difficult to detangle: Start with moisture and conditioning. Make sure your shampoo isn't leaving the hair feeling stripped and choose a conditioner with enough softness and slip. A moisturising mask can be added when your regular conditioner isn't quite enough. If your curls feel limp, heavy or coated: Don't add another treatment yet. Cleanse first and simplify your routine. Too many masks, leave-ins, creams, butters and oils can weigh curls down and make them harder to read. If your hair is curly or coily but otherwise feels healthy: You don't automatically need protein or an intensive moisture treatment. Focus on a consistent cleansing and conditioning routine, then add treatments when there's a reason to. If your hair is fine or easily weighed down: Choose lighter conditioners and leave-ins and be careful about layering too many rich products. If your hair is thick, coarse or regularly feels very dry: Richer conditioners, masks and leave-ins may provide the extra conditioning your hair prefers. Strand Testing You've probably seen some version of this online: stretch a wet strand of hair and watch what happens. If it snaps, you supposedly need moisture. If it stretches excessively, you need protein. Somewhere perfectly in the middle means you've achieved the ideal protein-moisture balance. It's an appealing shortcut, but one strand can't tell you everything that's happening across your hair. Individual strands can behave differently depending on their condition, where they came from and their previous exposure to heat or chemical processing. There's nothing wrong with becoming familiar with how your hair normally feels and stretches. The problem comes when one DIY test becomes the basis for completely changing your routine. Your hair's behaviour over several wash days is much more useful. When You're Confused, Reset If you've spent months alternating between protein treatments and moisture masks and no longer have any idea what your curls need, stop adding things. Go back to a shampoo and conditioner you already know your hair gets along with. Keep styling relatively simple and temporarily step away from the constant rotation of strengthening treatments, deep conditioners and new products. You're not neglecting your hair. You're creating a baseline. Once some of the variables disappear, it becomes much easier to notice how your hair actually behaves. Detangling may become easier. Curls that felt heavy may regain some movement. Or you may still notice persistent weakness or dryness that points towards something in the routine needing attention. From there, change one thing at a time. If you're considering a strengthening treatment, you can even test it on a small section first and compare the result with the rest of your hair. If that section feels more manageable afterwards, that's useful information. If it feels noticeably stiffer or rougher, that's useful too. Your hair's response to a product can tell you far more than trying to diagnose it before you've even used it. Don't Over-Correct One of the easiest ways to make this confusing is to swing from one extreme to another. Hair starts breaking, so every step becomes strengthening: protein shampoo, protein conditioner, treatment and leave-in. When the hair begins feeling stiff or rough, the response is to pile on rich moisture treatments instead. The opposite happens too. Dryness leads to a deep conditioner, followed by a leave-in, cream, butter and oil. Curls eventually feel heavy and coated, so a protein treatment gets introduced to “balance” them. Protein and moisture aren't antidotes for each other. If you've been heavily relying on one type of treatment and your hair no longer feels right, the answer doesn't have to be an equally intensive treatment in the opposite direction. Pause. Cleanse where appropriate. Return to regular conditioning and give your hair a few wash days before deciding what comes next. Sometimes the best correction is simply to stop correcting for a while. Protein or Moisture? Keep It Simple Instead of trying to diagnose your hair from a long checklist, use these as starting clues: What you're noticing Where to start Hair feels dry, rough or difficult to detangle Look at your shampoo and conditioning routine first Hair feels weaker following bleach, colour, chemical processing or frequent heat Consider introducing a strengthening or protein-containing treatment Curls feel limp, heavy or coated Cleanse and simplify before adding another treatment Hair feels stiff or rough after frequent protein/strengthening treatments Pause them and return to your regular conditioning routine Nothing seems to make sense anymore Strip the routine back for a few wash days and establish a baseline These aren't diagnoses. They're simply a more useful starting point than assuming every symptom has one universal answer. Breakage vs Shedding Hair coming out doesn't automatically mean you need protein. Breakage happens along the hair shaft, so you may notice shorter snapped pieces of different lengths. Shedding involves whole strands coming away from the root as part of the hair's natural cycle. They're different things, and a strengthening mask isn't a universal solution to hair loss. Persistent or unexplained hair loss or changes to the scalp are better discussed with an appropriate professional rather than treated as a protein-versus-moisture problem. The Bottom Line The protein-versus-moisture debate has made something relatively straightforward feel much more complicated than it needs to be. You don't need to constantly chase a perfect 50/50 balance. If your curls feel dry or difficult to manage, start with the quality of your everyday cleansing and conditioning routine. If hair that's been chemically processed or regularly exposed to heat is behaving noticeably weaker, a strengthening treatment may have a place. If your curls feel heavy and coated, adding another mask probably isn't the first move. And when you genuinely don't know, do less before you do more. Simplify the routine, watch how your hair behaves over several wash days and introduce changes individually. Frequently Asked Questions How do I know if my curly hair needs protein or moisture? Start with how your hair has been behaving over several wash days rather than relying on one symptom. Dry, rough or difficult-to-detangle hair is a reason to review your cleansing and conditioning routine, while hair that feels weaker after bleaching, colouring, chemical processing or frequent heat may benefit from a strengthening or protein-containing treatment. What are the signs that curly hair may need protein? Hair that has become weaker or more prone to breakage may benefit from strengthening care, particularly after bleaching, colouring, chemical processing or frequent heat styling. These are clues rather than a definitive diagnosis, so introduce treatments gradually and pay attention to how your hair responds. What are the signs that curly hair needs more moisture? Hair that consistently feels dry, rough, less flexible or difficult to detangle may benefit from more effective conditioning. Start by reviewing your shampoo and conditioner before automatically adding several masks, creams or oils. Can you use protein and moisturising products together? Yes. Protein and moisture aren't opposites. A strengthening treatment can sit alongside your regular conditioning routine because the two serve different purposes. Can too much protein make curly hair feel dry? Frequent use of protein or strengthening treatments can leave some hair feeling stiff, rough or harder to manage. If this happens, pause the intensive strengthening treatments and return to your usual cleansing and conditioning routine rather than trying to aggressively “rebalance” your hair. What should I do if I can't tell whether my hair needs protein or moisture? Simplify your routine. Return to a familiar shampoo and conditioner for a few wash days, keep styling straightforward and see how your hair behaves without multiple treatments. Once you've established a baseline, introduce one change at a time.
Read more
How to Choose the Right Protective Style for Your Hair
From braids and cornrows to twists and wigs, the right protective style is about more than the finished look. Discover how to choose a style that works with your hair, lifestyle and routine.
Read more
Post-Summer Curl Reset: How to Transition Your Routine for Autumn
Hot summer nights, product buildup, and non-stop sun leave your curls needing a fresh start. As the weather cools down, it’s time to rethink your routine. From clarifying build-up to preparing for diffuser season, here are four simple steps to reset, hydrate, and redefine your wavy, curly, or coily hair for autumn.
Read more
What's My Curl Type?
Learn how to identify your curl type using the 1A–4C curl chart, understand what it can tell you about your hair, and discover why texture, porosity, density and hair health matter just as much when choosing the right products.
Read more
Beauty with Benefits
Earn points as you shop and unlock rewards, perks and more with Kiyo Rewards.


